Did I need two pairs of purple pants? Or any purple pants at all? Not really, But I had some purple fabric in my stash and decided to work out a new pants pattern, the Leisl + Co. Peckham pants. With a number of changes I'm fairly satisfied with how they turned out - although the elastic waistband which is a feature of this pattern is what I actually eliminated in my version.
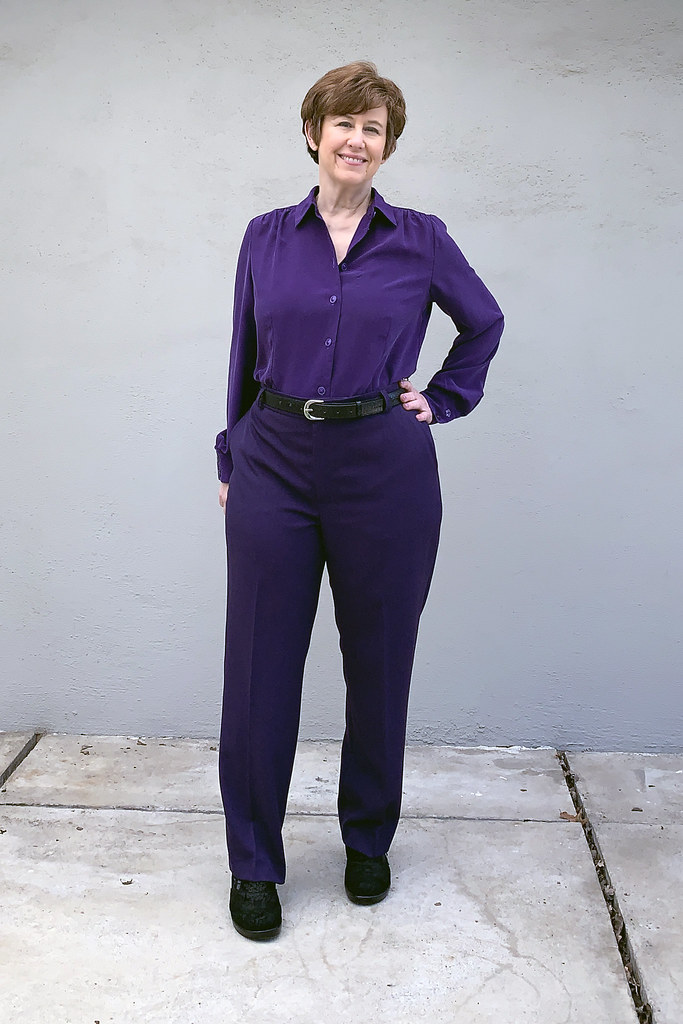
Here are the Peckham trousers, the fabric is a stretch woven, I think it has about 1 or 2% stretch and the pattern does call for stretch woven.
Changes I made to this pattern:
- Raised the waist all around about 3/4"
- eliminated the elastic waistband
- added a seam in the waistband at center back.
- shaved off about 1/2" on the upper side edge of each back piece
- took in the center back about 1" after waistband was attached.
- due to my uneven hips, lowered the waistband about 1/2" on the right side tapering back to center front and center back.
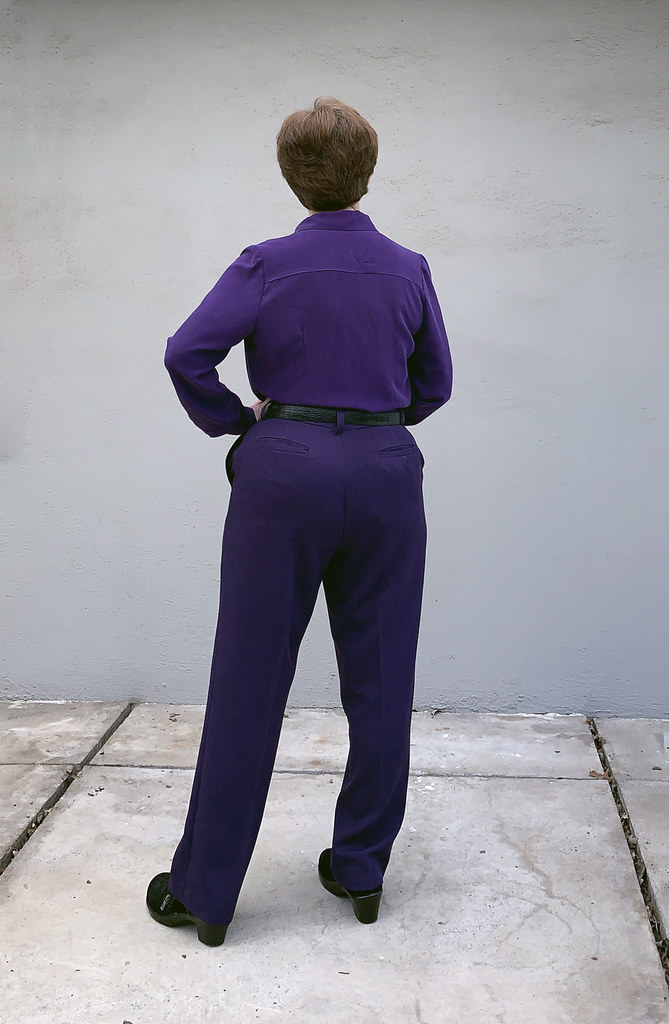
No changes in the legs or the crotch seam shape. In this pattern the inseam is moved forward which is much more similar to many ready to wear pants which I think fit better than most sewing patterns where the inseam is at the lowest point of the crotch curve. The designer has industry experience in ready to wear and it does show in the pants pattern of Leisl and Co.
Now for things I don't like about this pattern:
- 1/2" seam allowances. Just my personal preference but I hate these, I am so used to 5/8" so I have to concentrate when I sew any other seam allowance.
- Elastic insets in waistband. In theory it sounded good but when I sewed up a test version they were just very bunchy and the waist was too big and needed a lot of adjustment.
- Zipper fly method - I prefer to use a cut on fly for trousers, reinforced with interfacing, it just comes out much better than sewing on a lot of fly pieces that add bulk. I changed it to a cut on fly.

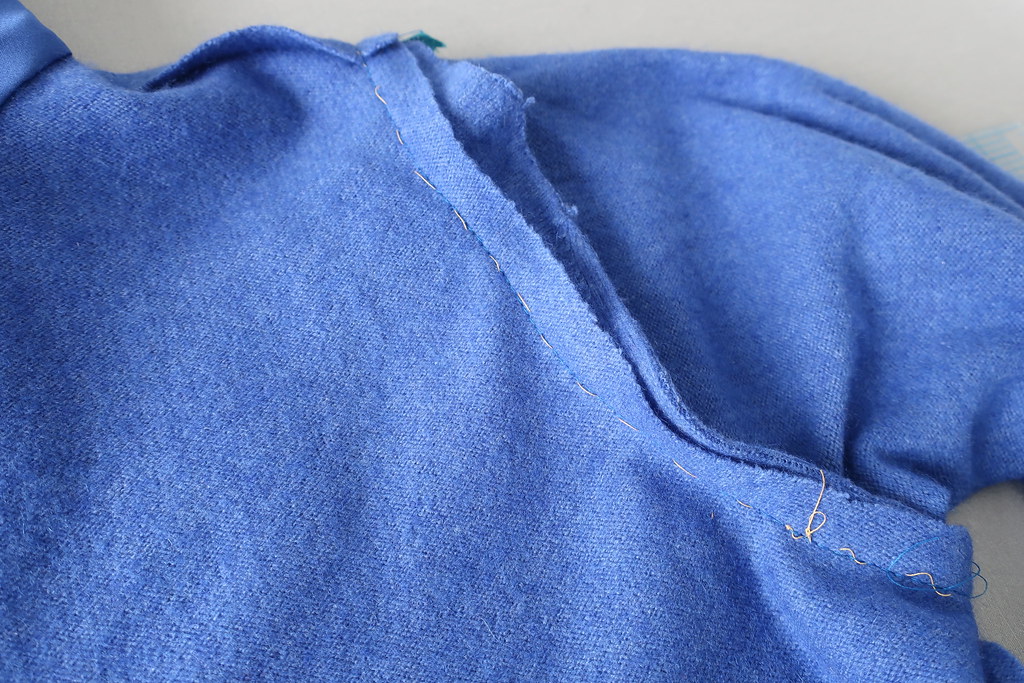
This is my test version, I used some wool crepe that someone had given me during the pandemic - definitely not my color. I ended up taking in a lot of fabric when people were stuck at home and doing closet cleaning, figuring I would use it eventually for tests, samples, etc. but I think I need to start culling as even with making test versions of patterns I won't use up all these fabrics.
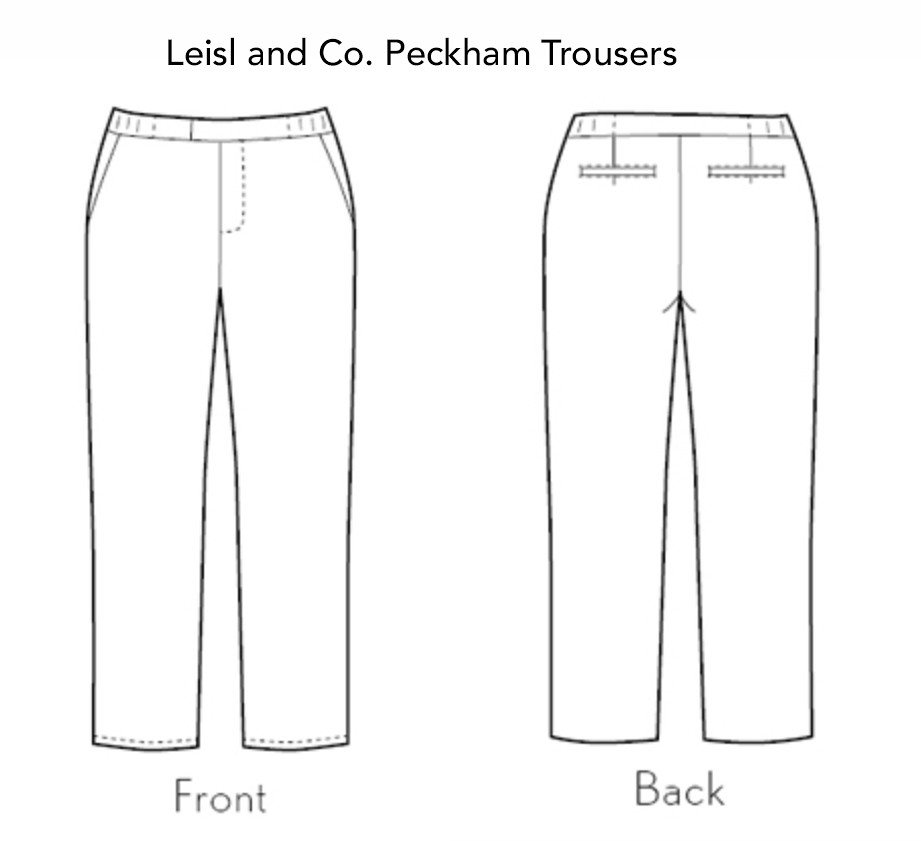
Here's the pattern image. Why do pattern designers use print fabric to show the example on their pattern?? Which is another reason why I really don't look at the examples but just at the line drawing.

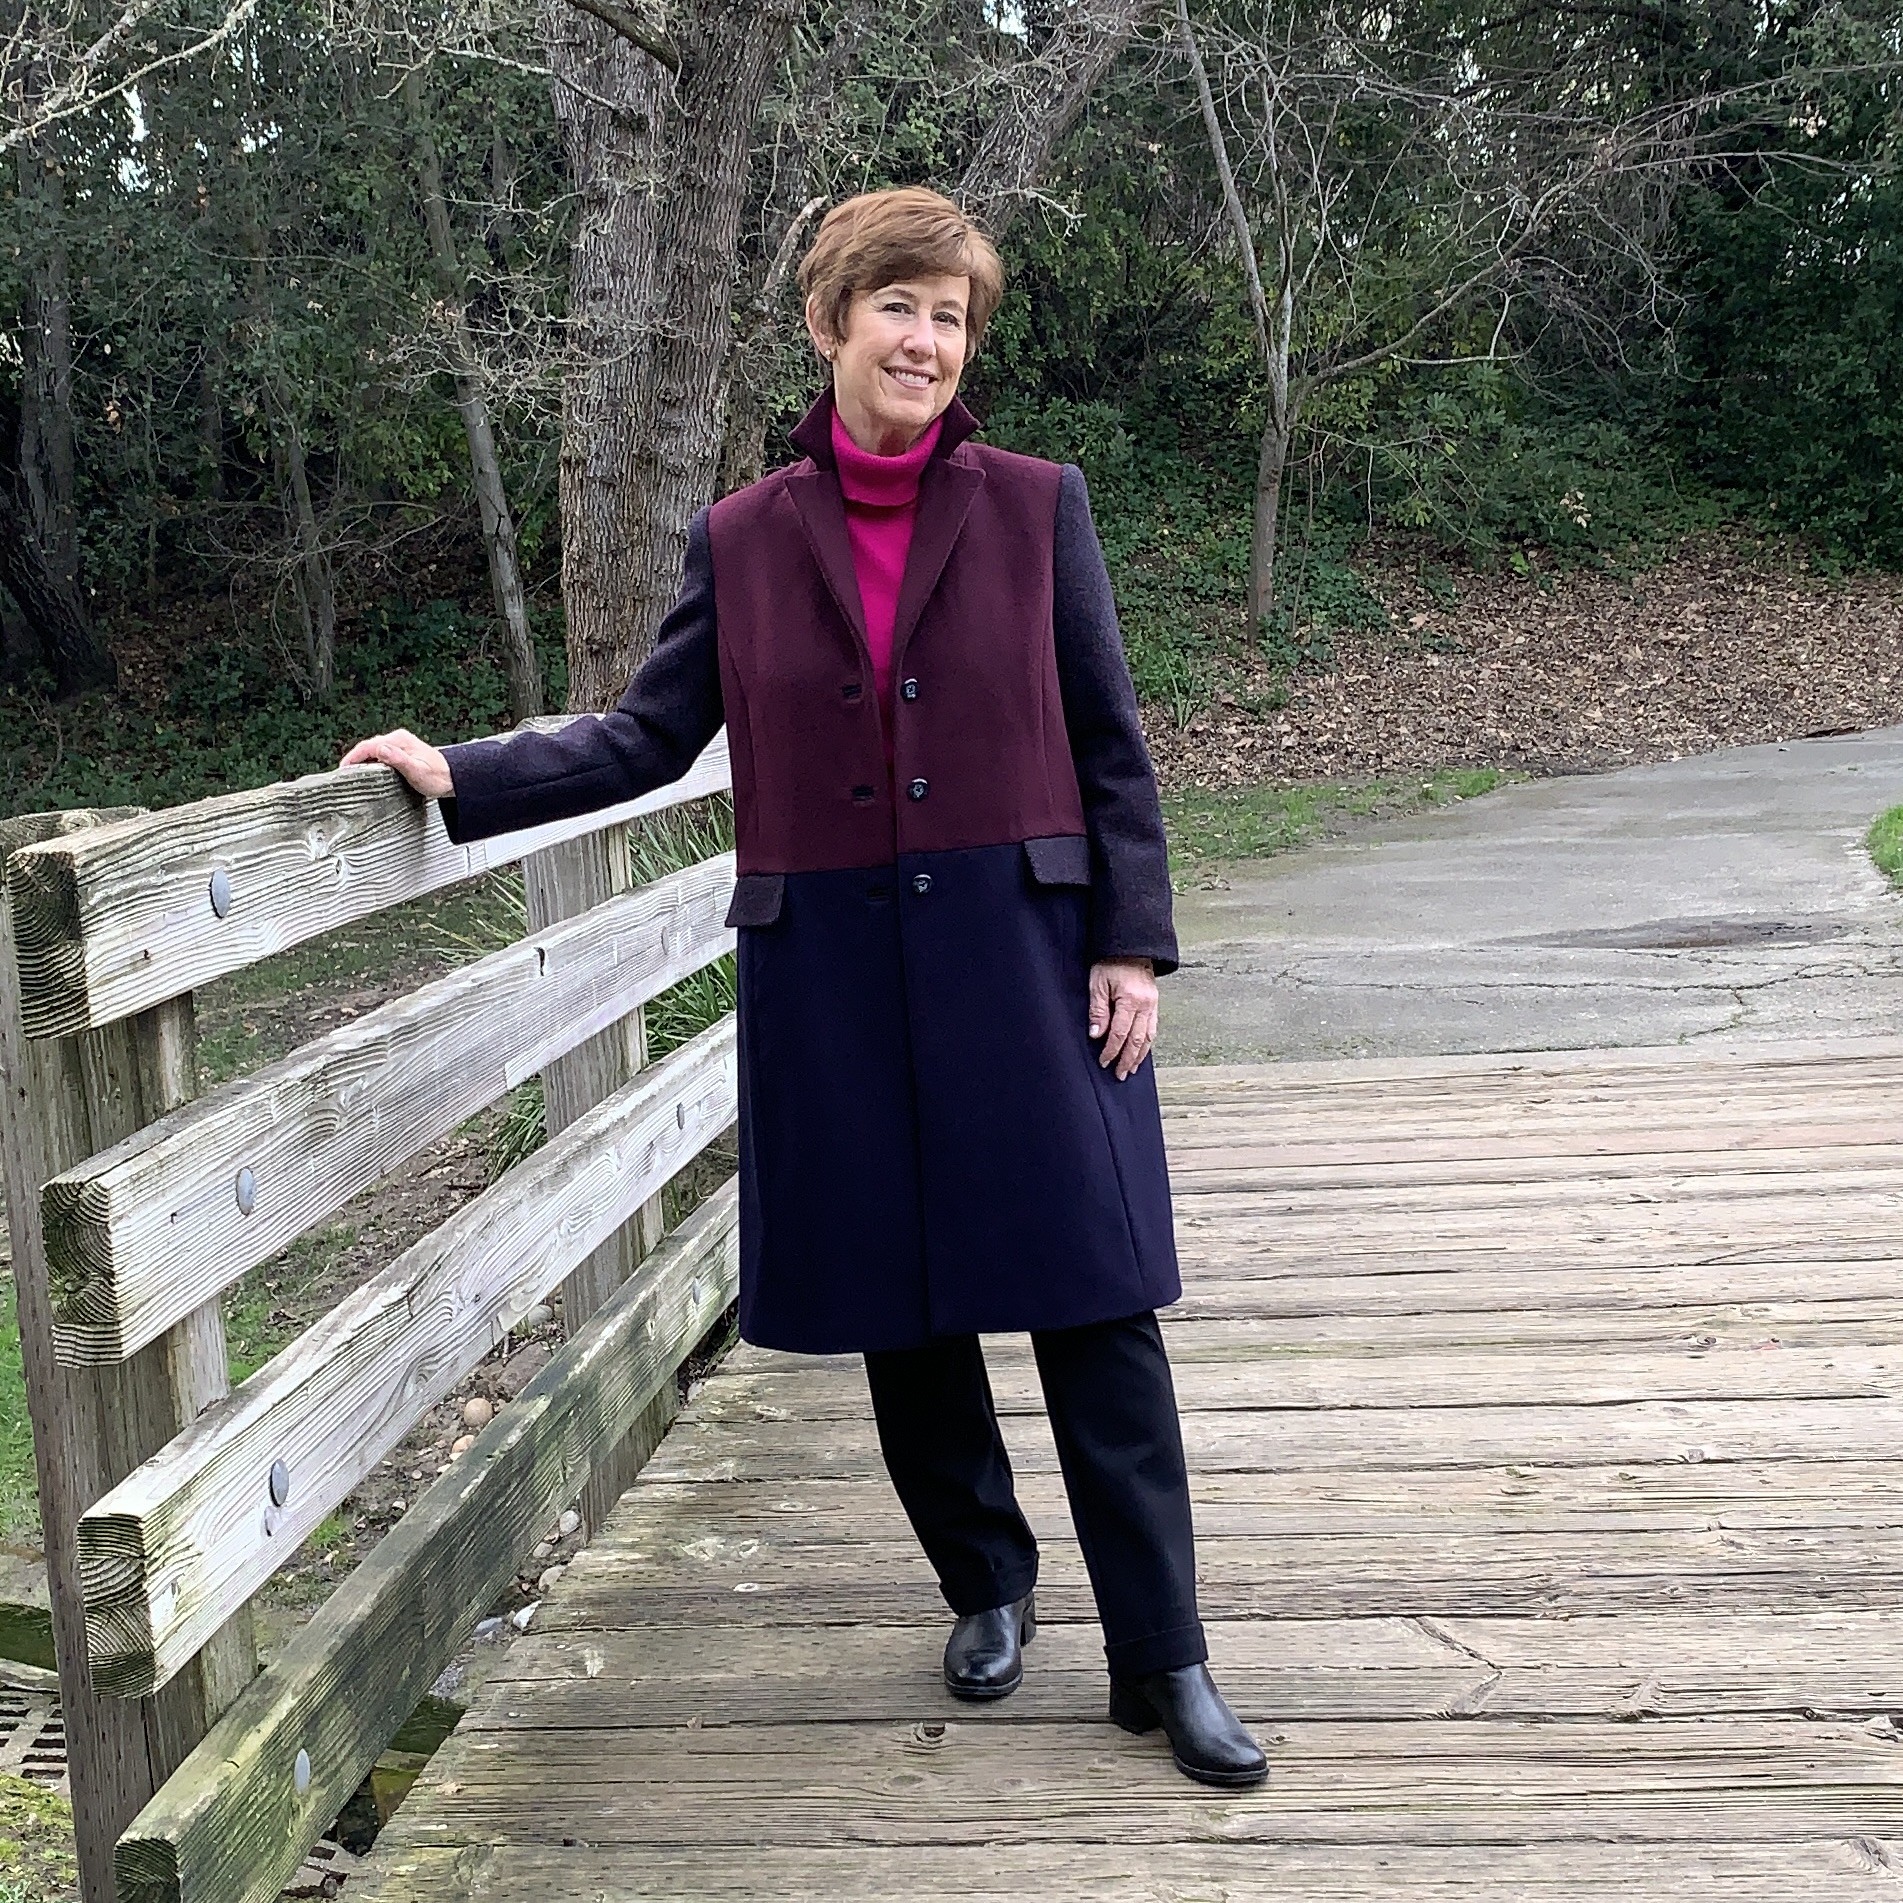
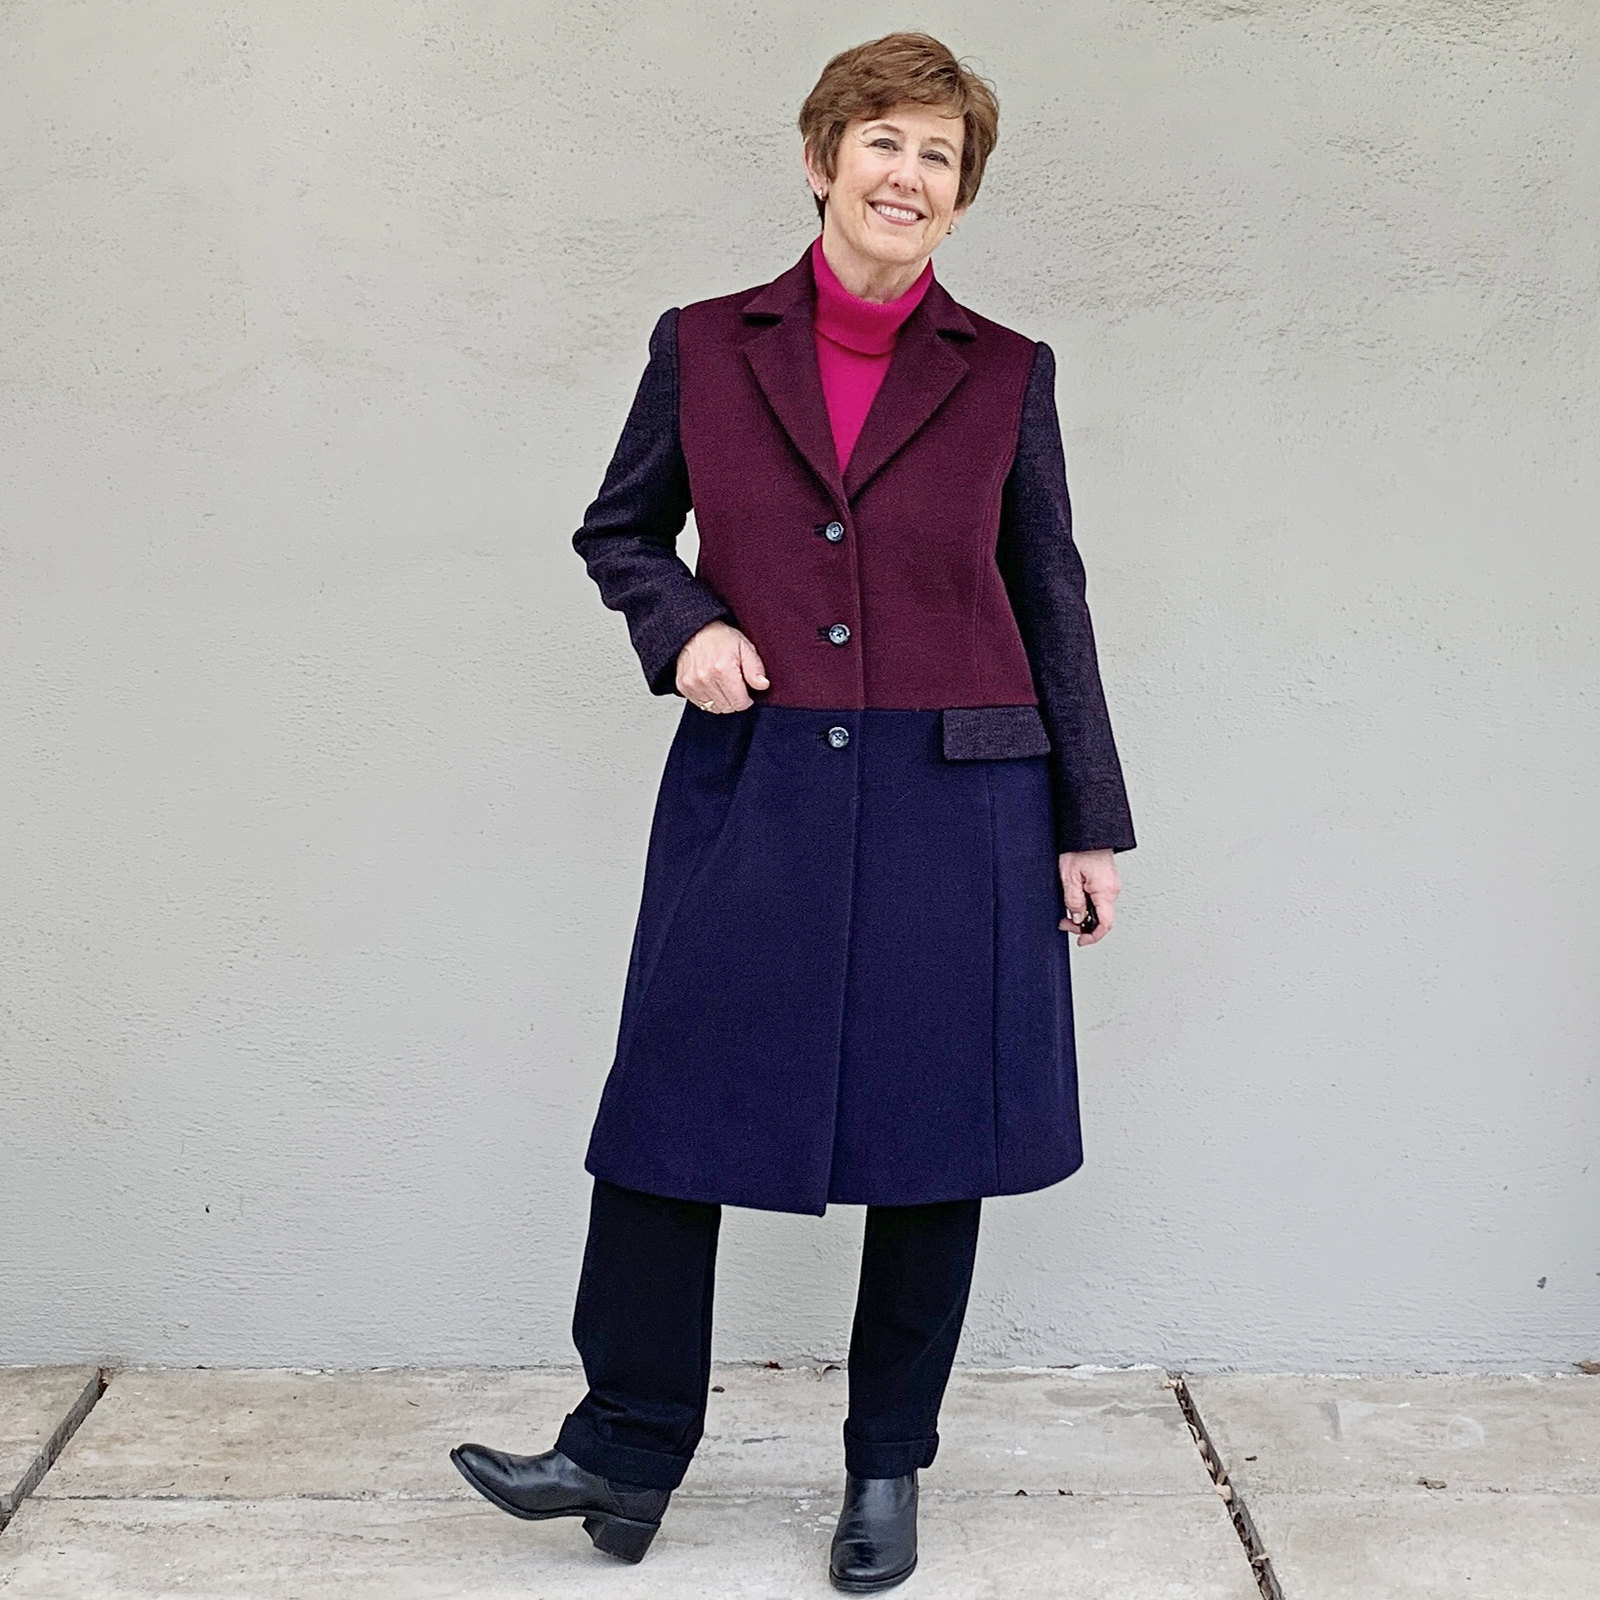
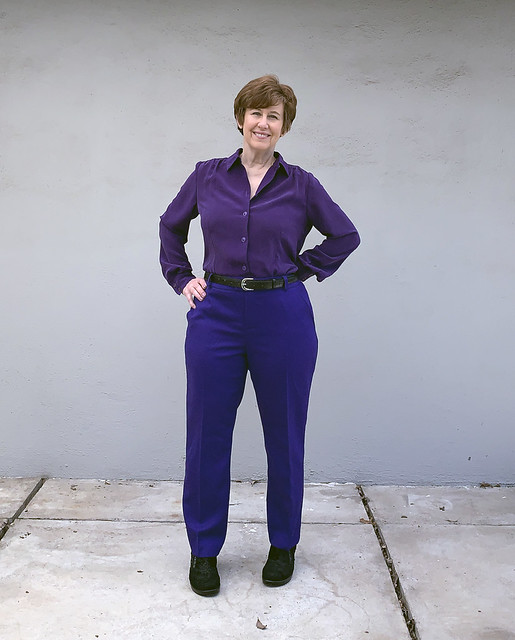
Now for Pants pattern # 2. This one is the VikiSews Edna Trousers. I kept the same purple silk shirt on for these pictures and it is definitely a different shade of purple, plus if I didn't have my hand in the pocket that would be better. But anyway I like how these fit as well.

This is actually the second time I have made these, I thought I had posted on the blog but I think only on Instagram about 12 months ago. This pattern calls for woven and this is a wool twill with no stretch. I think they would be fine with a slight stretch fabric as well.

Here's the line drawing for the VikiSews Edna trousers. I think it is a bit idealized, but the basics are visible. The useful thing on their website is to compare all the line drawings of the different pants they offer, looking at leg width, pocket shape, etc to choose one that I liked.

Changes I made to this pattern:
- this has a shaped waistband and I lie that better, but I did create a seam in the center back waistband so I can fit that area.
- added seams in the waistband at the side seams, for additional fitting.
- I might have raised the waist in the back about 1".I can't recall but I think so as most pants are dip down at the back waist on me.
- printed it as a copy shop size file which has the seam allowances as 3/8" and it is easy to change that to 5/8" which just makes it easier for me to sew.
What I like about all the VikiSews patterns, and the pants particular are the instruction which are outstanding. This is the only pattern brand that details the steam shaping of the pants legs and also has the crease line marked, which you press before you sew up the pants. I really like the width of the legs on both these patterns, perhaps the Leisl and Co Peckham pants have a slightly more fitted leg which makes sense as it is designed for stretch woven.
Dislikes - can't think of any. These VikiSews patterns are really well designed. And they have the same forward inseam as mentioned for the Peckham pants above.

So that's the latest on my pants sewing adventures.
Another look at the Peckham pants.

And another look at the VikiSews Edna pants.
Enough purple for you? I made that shirt using a silk that I bought in NY in October at Chic Fabrics. It does match quite well the first pants and I actually wore that outfit the other day.
I think I will make some cotton sateen pants or lightweight chino in one of these patterns for spring/summer as an alternative to always wearing jeans.
I have a couple of in person classes coming up in April
Copy your Favorite Shirt class with Hello Stitch Studio, April 13, details here.
Make the Kalle Shirt or Dress, Weekend Workshop April 27/28, details here.
Up next in my sewing, no idea. The weather has been so cold and rainy and I am ready for spring! We had a few gorgeous sunny days recently and I am ready for more shorts weather. Even with the chill I have been out in the garden quite a lot and things are getting ready to burst into bloom.
Happy Sewing,
Beth
throwback photo for the garden, a dahlia from last summer. At the end of the season I put all the dahlias in a garden bed and let nature do what it wanted. Just the other day I saw the first shoots poking out of the soil so they are on the way.