
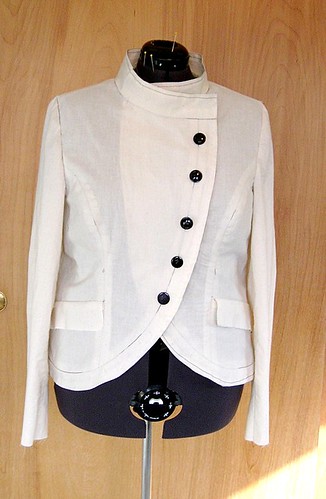
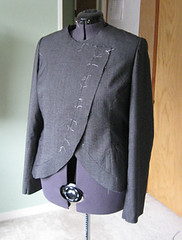
This week I am working on a suit for Rita, who is going to Japan later this month for her son’s wedding. She had a jacket with an asymmetrical front in mind, so I found McCalls 5759. I saw a few versions of it on Pattern Review and liked the shape. I am making the version with the stand collar. We found a beautiful menswear Italian wool suiting and actually are using the wrong side of the fabric.

I did a fitting muslin, and the lines look good even in muslin - so I am looking forward to seeing it finished. Here is the muslin front view.
This pattern has a pocket flap but no pocket - what is the use of that? A faux pocket is worse than no pocket at all. So I decided to put a welt pocket in, underneath the flap which has a very specific placement and I didn’t want to mess with that.
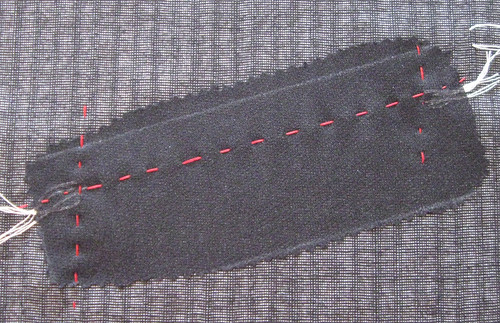
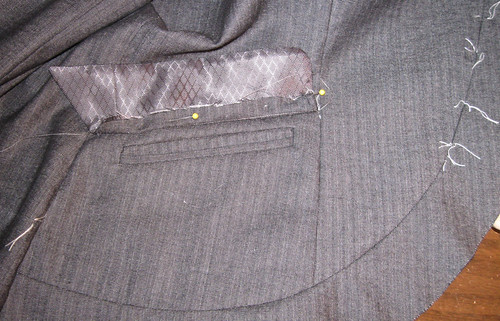
Below is the outside of the jacket, marked with red basting thread. I placed it about 5/8” below the line for the pocket flap so it will be entirely covered. In the photo you can see my handy Chakoner chalk marker. It is an incredibly useful tool, makes a super sharp line and the chalk inside seems to last for at least 5 years. Amazing.

Here is the inside of the jacket, I put a rectangle of fusible interfacing over the target area, actually I do that step first, then baste the red markings, following lines I have drawn using the tailor tacks to draw the lines.

Next I cut and sew the pocket edges. For this I used straight grain fabric, cut about 3” x 8”. it is really important to stretch and steam the pieces, to take any of the slack out of the weave. This wool is very tightly woven but on a tweed or something else this is a really necessary step as the pocket edges will sag or become misshapen during wear and look weird. For any kind of plaid I like to do the pockets on the bias because it is visually more interesting, but then this stretching step is crucial as the bias cut pieces want to stretch all the more. The pieces are folded in half, and then I stitch 1/4” from the folded edge.
After stitching, I trim the pieces 1/4” from the stitching so they end up being 1/2” wide.
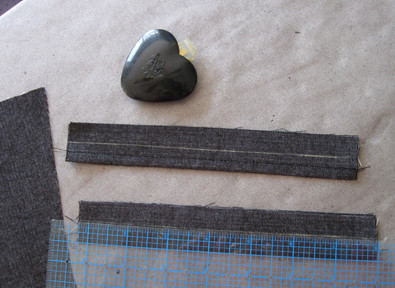
It would be impossible to start with a 1” piece, then fold and stitch accurately, plus you lose that fraction of an inch with the turn of the cloth. So this method results in very accurate pocket edges ready to go. I really get annoyed at patterns that have little pieces for the pocket edges, who are they kidding? Never gonna work.
Next I pin the edges onto the jacket. It is not visible, but the cut edges line up with the red basting threads. Note I have marked with chalk where the stitching ends.
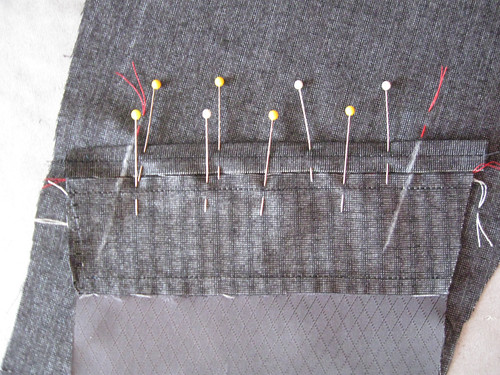
I sew right on top of the previous stitching, which results in a perfect 1/4” pocket edge. This photo is kind of upside down, as the pocket lining is on the bottom,
After I sew across the edges, the moment of truth comes when I slash open the pocket, directly in the center, again using the red basting thread as a guide. About 1/2” from the edge I stop, and then cut diagonally to the edges. Then push the pocket through the opening, and attach the pocket lining, again along the same stitch line. Lastly stitch around the pocket, catching the little triangle into the stitching, which secures the two ends of the pocket opening.
I did a one-welt pocket, so the bottom has a welt and the top is the jacket fabric, sewn to the pocket lining.
Finished pocket - hidden under pocket flap (unfiinished at this time).
Here is the jacket assembled. Collar is not on yet, but you can see all the tailor's tacks for the hidden buttonholes. In a few days I will finish this jacket and have more photos.
and today's SunnyGal Studio garden photo, some sunny primulas in bloom.


No comments:
Post a Comment